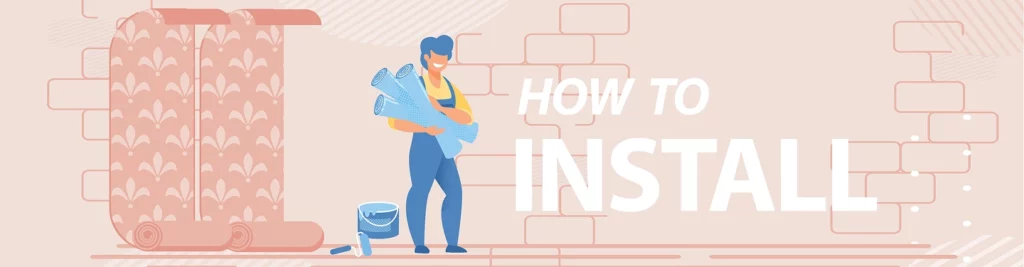
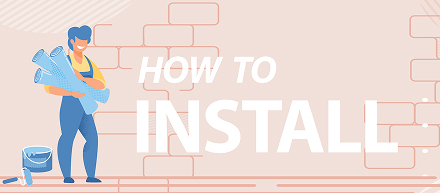
AN EASY Step-by-Step Wall Mural Installation Guide
KNOWING YOUR WALLMURAL
Layout all the planels and check if they are as per the installtion sheet provided.
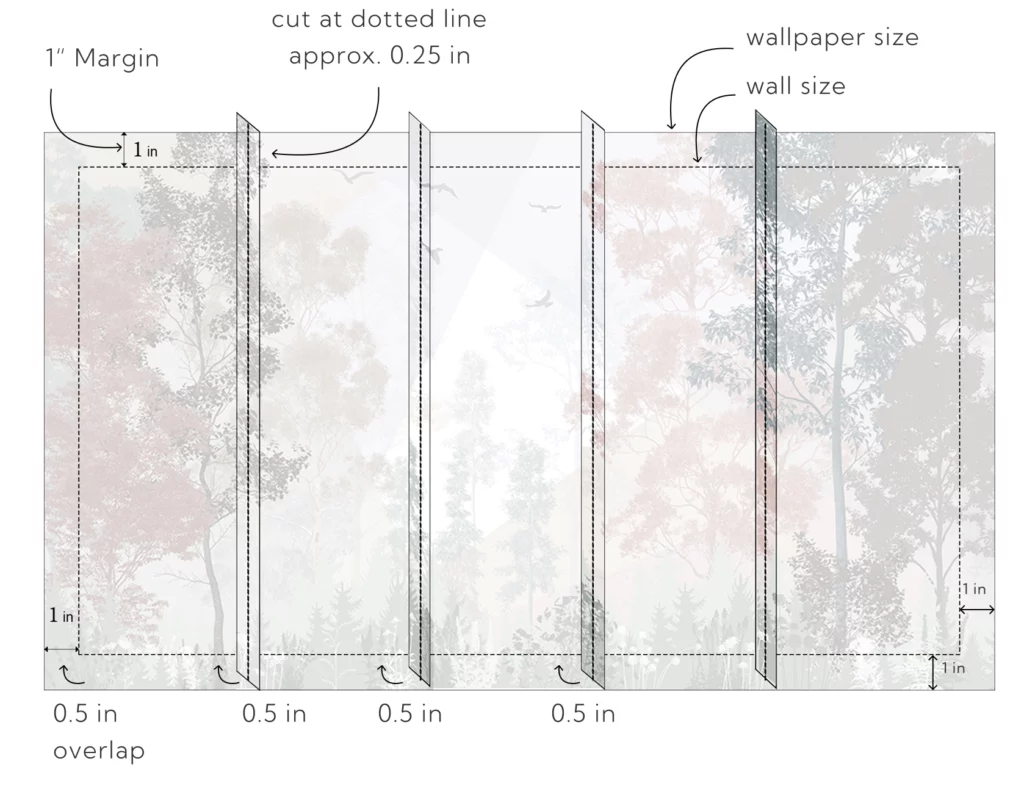
We add 2″ or 5cm excess to both width and height to the measurements provided by you. This excess is required for allowance during installation.
Every panel carries an overlap of 1/2″ or 1.25cm. This overlap is for perfect matching during installation.
All the panels are numbered with Panel No. 1 being the left side of your wall mural and subsequent panels moving towards right side of your design. Generally all Wall Curry murals are hung/pasted Left to right.
PREREQUISITES
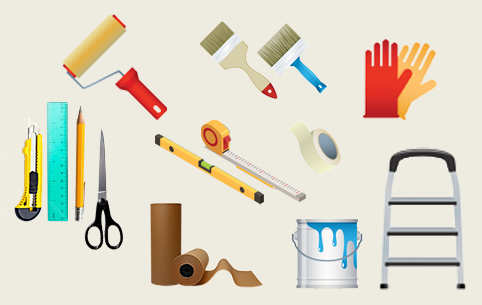
1. Paint-rollers n paint-brush. 2. Pencil, blade knife/cutter, scissors. 3. Steel ruler/scale, inch tape, spirit level. 4. Gloves, cloth, sponge, squeezer. 5. Adhesive and bucket. 6. Ladder
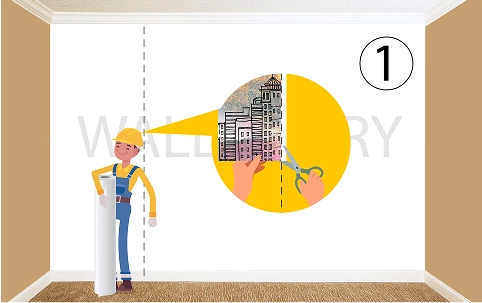
STEP 1
1. Trim the white margin from each panel.
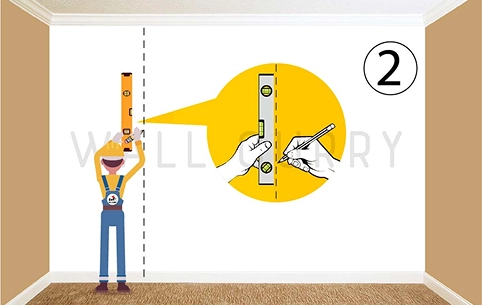
STEP 2
2. Measure the panels and mark the corresponding positions on the wall using a spirit level for perfect vertical alignment of first panel.
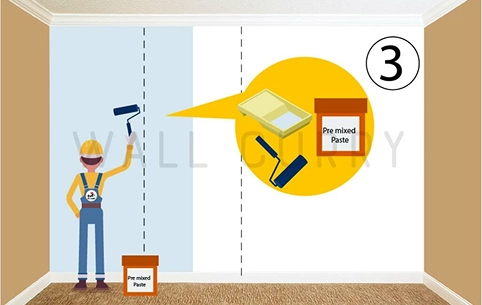
STEP 3
3. Apply glue to the wall.
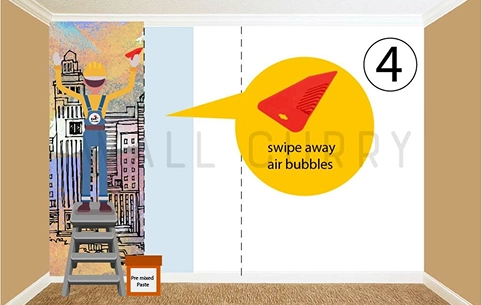
STEP 4
4. Starting from the left, hang the first panel, Swipe away any air bubbles from the panel.
Note: The first panel is pasted vertically so that subsequent panels are also vertically straight.
STEP 5
5. Repeat the process for the remaining panels, overlapping and aligning them to match the pattern. Trim any excess overlap for a clean finish.
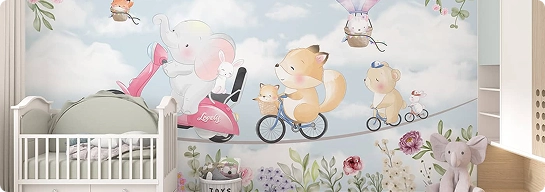
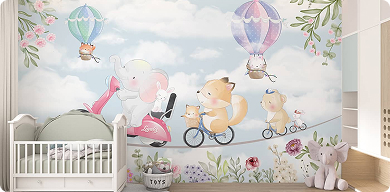
Explore our collection, and you will surely find something that will capture your imagination.
Only at Wall Curry, the one-stop shop for all your wall décor needs.
WhatsApp us
welcome back
We’re so happy to see you again!
New designs, timeless favorites, and a world of inspiration await.
As A Thank-you for stopping by…
Enjoy 10% OFF ON your FIRST order of wallpapers or wall art